
Installing the extension:
You can install the Mailshake Connect extension from the ZOHO Marketplace.
To install from ZOHO CRM
- Navigate to Setup > Marketplace > All.
- Under All Extensions, you can view all the extensions supported by your CRM.
- Click All Extensions, browse for and click Mailshake Connect.
- Configuration and settings details about the extension will be available.
- Click Install.
- Agree to the Terms of Service and click Continue to Install.
- Choose Users/Profiles, choose one of the following and click Confirm.
- Install for admin only – Only users with the administrator profile will install the extension in CRM.

Install for all users – The extension will be installed in CRM for all users.
Choose profiles – Install the extension in CRM for all users with a particular profile. To use this option, click Continue and select the desired profiles.

Click Authorize.
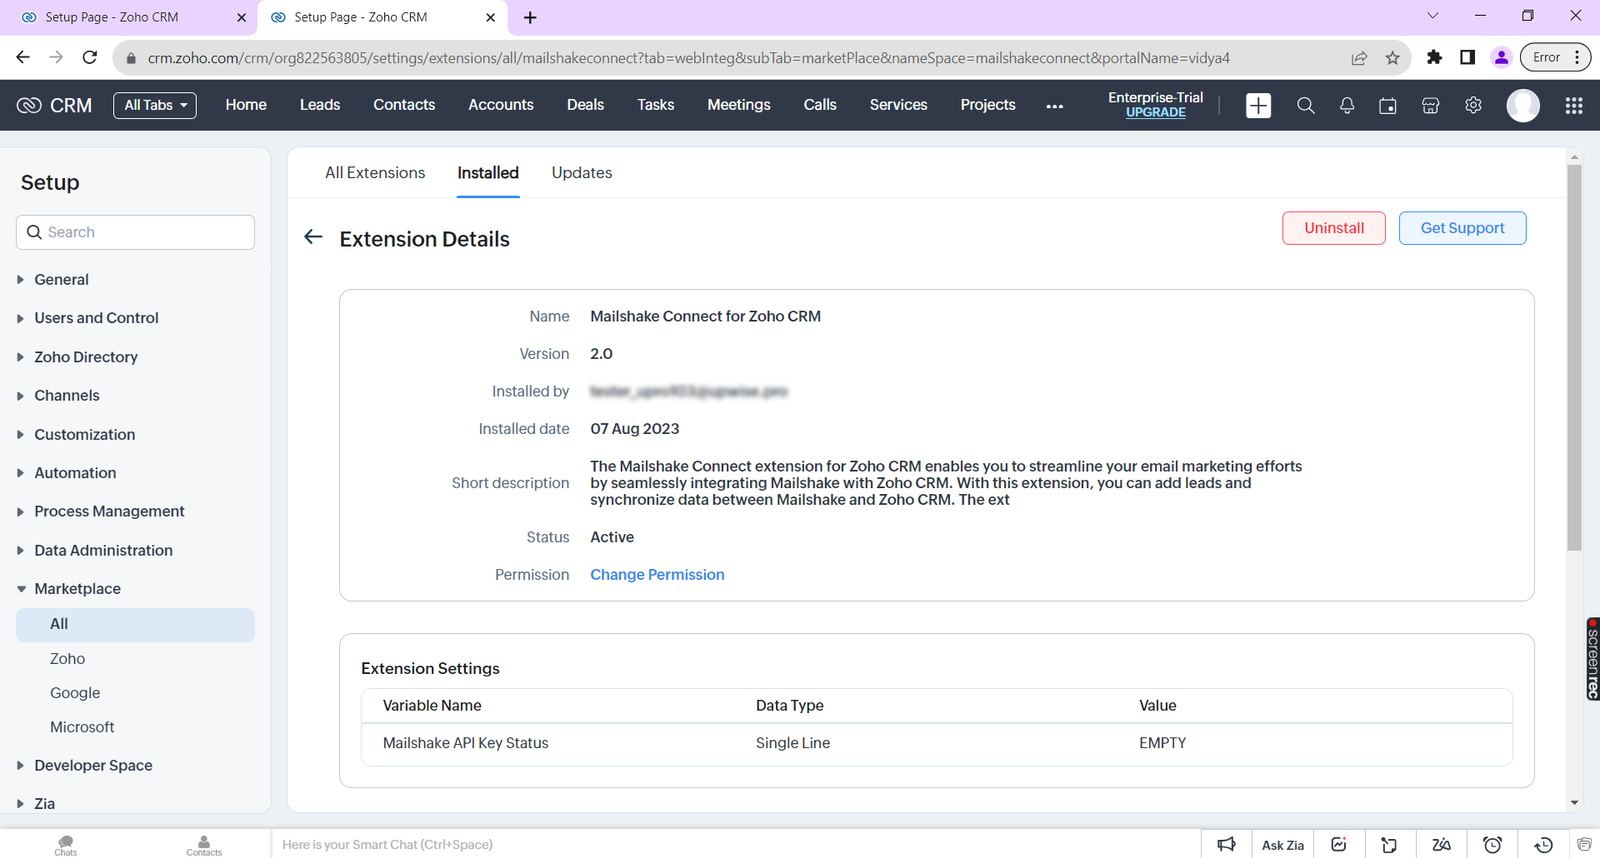
Note: If you skip this step, you can authorize it later from your Settings page. To do so, navigate Setup > Marketplace > All. Open the Mailshake Connect extension details page and click Authorize.
Configure extension:
Once installed, to configure settings for the extension:
- Navigate CRM Mailshake Connect
- Enter API:
- Enter auth key from your Mailshake account to initiate the sync between Mailshake and ZOHO CRM
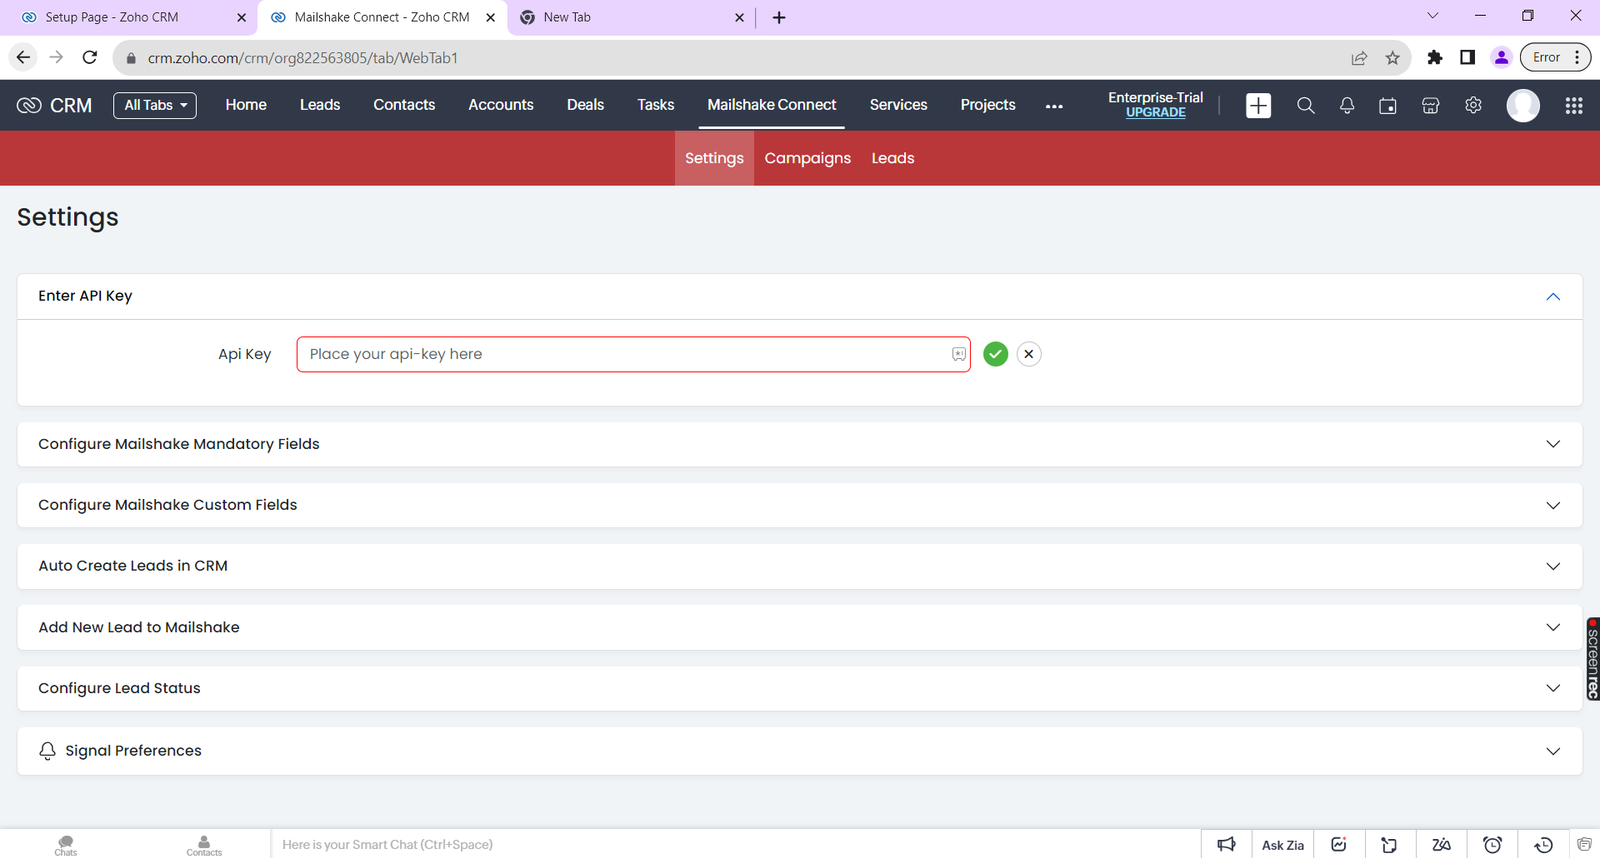

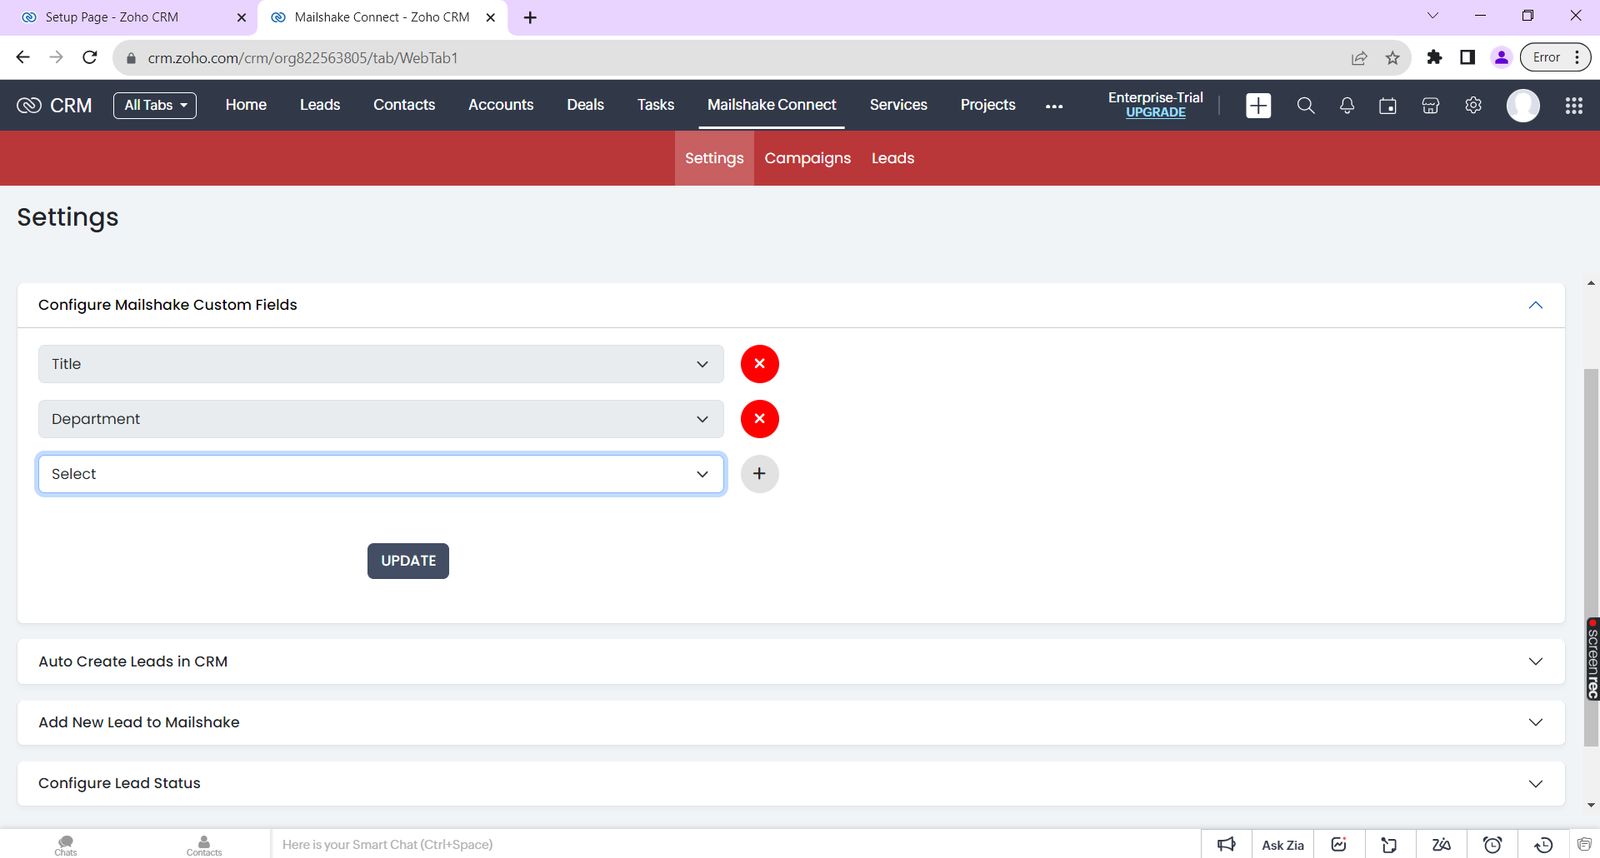
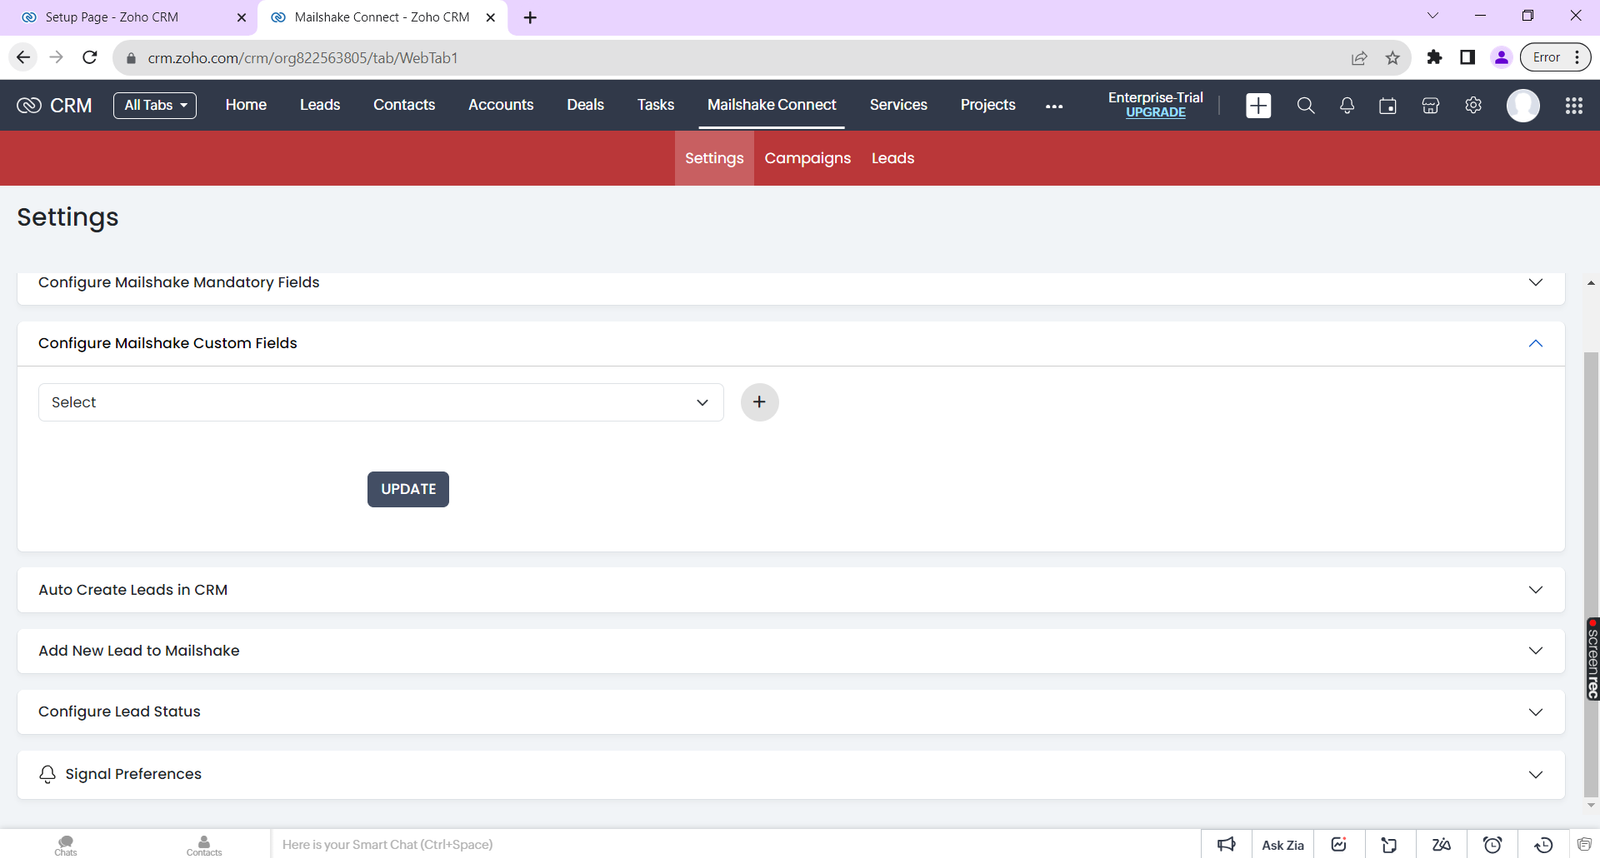
- Configure Mailshake mandatory fields. Map fields in CRM Leads module with Mailshake and set up data mapping for sync.

- Auto create Leads in CRM
- Auto add CRM Leads
- Configure CRM Lead status
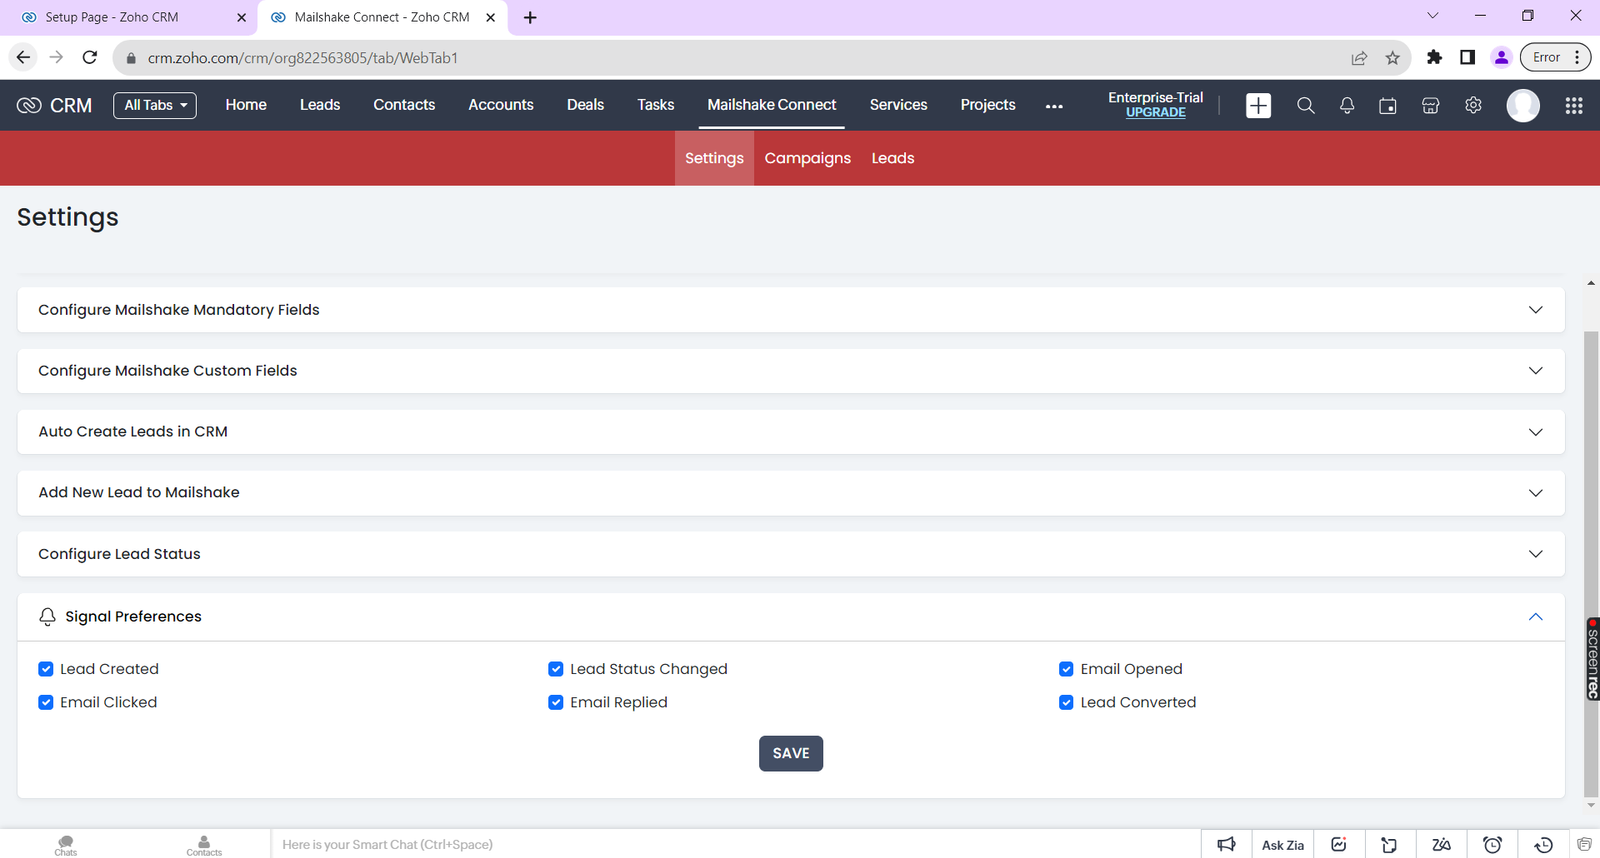
- Configure Sales Signals
- Navigate to CRM Mailshake Connect Leads To view list of Leads associated with a Mailshake campaign
Note:
- Once synced with Mailshake campaigns, the Mailshake Connect module allows viewing Leads.
- Sync is real time with Mailshake and occurrence cannot be edited.
- Navigate to CRM Mailshake Connect Campaigns To view all Mailshake Campaigns created from ZOHO CRM
Note:
If you skip any of the above steps, you can configure the settings from Mailshake Connect module. The Setup options are available inside the ‘Settings’ tab.
How to use this extension
- Add Leads to a campaign in Mailshake
- Select the records in the list view in the Leads module.
- Select button ‘AddtoMailshake’.

- Select ‘+’ under ADD to add the Leads to the specific Mailshake Campaigns.
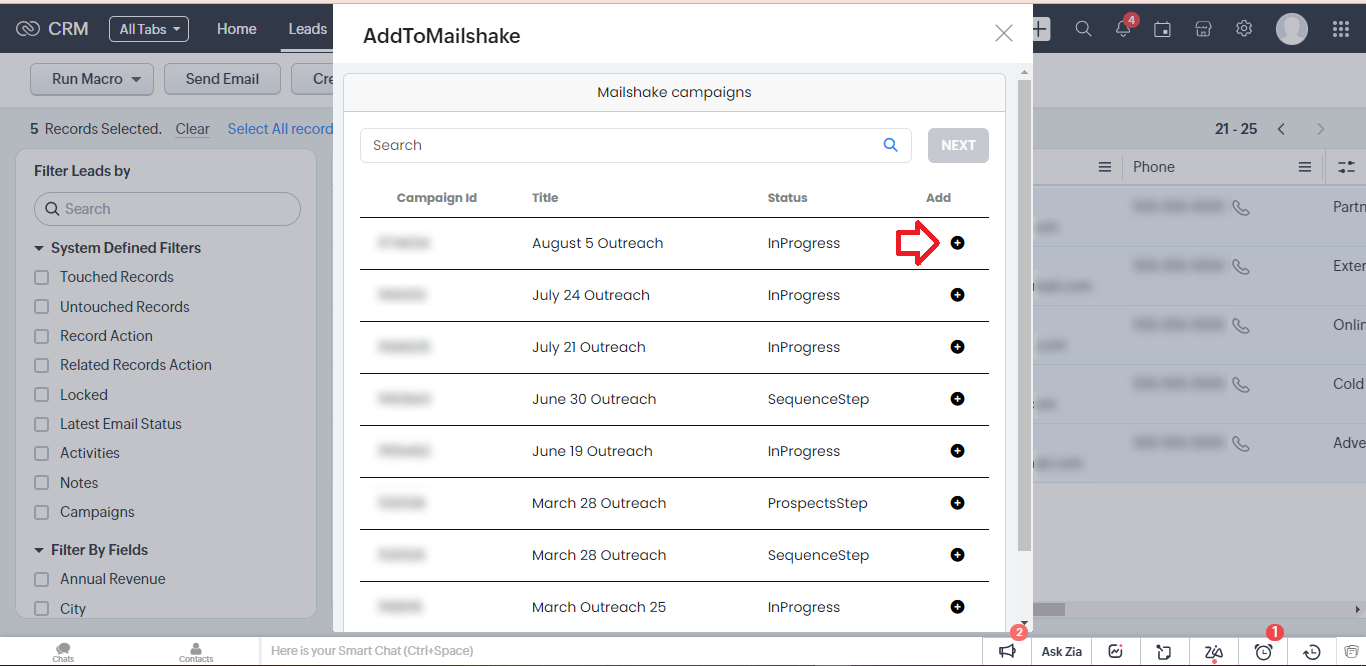
- Click ‘Add’ to finish.
- Email opt-out:
- Selecting Email Opt Out activates the extension’s restriction on selection, preventing the addition of the Lead to any Mailshake campaigns.
- If you select Email opt out and the Lead is part of any Mailshake Campaign(s), the extension will unsubscribe the Lead from all associated Mailshake campaigns.

- SalesSignals Notifications
- The SalesSignals feature notifies you of important events related to your Mailshake campaigns.


- Choose the notifications you want to receive within the ‘Settings’ tab in Mailshake Connect tab in CRM.
- Click Save.